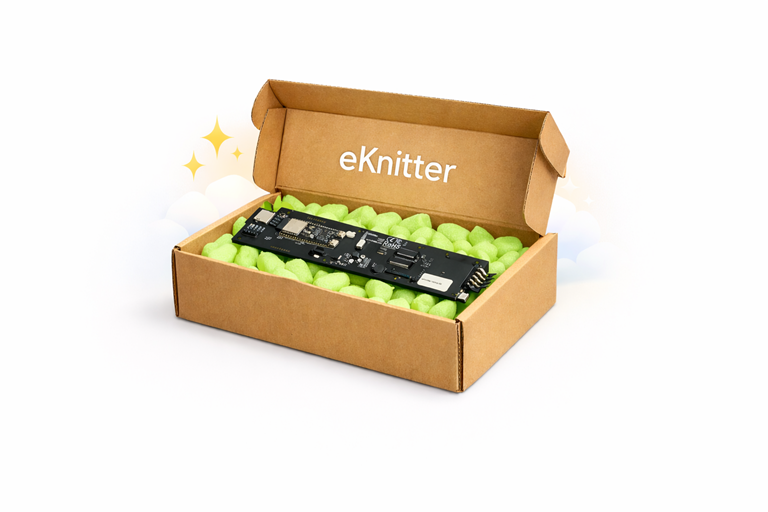
Install the eKnitter Mainboard
This guide explains the basic installation steps for the eKnitter mainboard. Please read all safety notes carefully before opening your knitting machine.
Installation videos
Before you start, please watch the installation video for your machine model.
Important Safety Notice
The installation of the mainboard must only be carried out by qualified electrical professionals.
If you do not have the correct electrical qualification, do not install the board yourself. Opening and working on the machine can be dangerous and can damage the machine or the eKnitter board.
If you open the machine and notice that it has been changed, repaired, modified, or does not match the expected description, stop immediately. Do not continue the installation and do not use the eKnitter.
DANGER — Before opening the machine
Power off
Before opening the machine, switch it off completely and disconnect it from all power sources.
Do not fully open Lid C
Do not fully open the right side of the machine, also called Lid C.
Lid C may only be lifted slightly so that Lid B can be removed. The power supply is located on the right outer side of the machine. Fully opening Lid C is not needed for this installation and can be dangerous.

General handling warnings
Please follow these handling rules during the complete installation.
- Handle the eKnitter mainboard carefully. Avoid touching electronic components and circuits directly.
- Avoid static damage. Static electricity can damage electronic parts.
- Use the correct tools. Use suitable tools when removing the old mainboard and installing the new one.
- Keep the installation area clean and dry. Dust, dirt, and moisture can damage electronic components.
- Work with good lighting. You must be able to clearly see all cables, plugs, and components.
- Connect cables correctly. Wrong cable connections can cause malfunction or damage.
- Keep the board clean. The mainboard and the surrounding area should stay clean and dust-free.
Before you start
If your knitting machine is old and has not been used for a long time, the capacitor inside the machine may fail when you turn the machine on, or shortly after turning it on.
Typical signs are a sound and a smell. This is a known issue with old electronic machines.
If this capacitor problem happens, you should consider using an external power supply. Another option is to ask an electronic expert to replace the capacitor.
Remove the old mainboard
Power off first
Make sure the machine is completely switched off and unplugged from every power source.
Do not fully open Lid C
Do not fully open the right side of the machine. You only need to slightly lift Lid C to remove Lid B. Avoid opening Lid C completely because the power supply is close to this area.

Open the machine case
Open the machine case and remove the left and middle lids, Lid A and Lid B. The original mainboard is located under the left lid, Lid A.
The mainboard is connected to the machine with several plugs. Carefully unplug each connection and remove both lids.
Remove both old boards
Unscrew and carefully remove the old mainboard from the lid. The original mainboard consists of two separate boards. Both boards must be removed.
When the old mainboard has been removed, the lid will be empty.

Install the eKnitter board
Check the button keys
Before placing the eKnitter board, make sure all button keys are correctly positioned. Also check that the rubber mat is correctly placed on top of the keys.

Position the board
Place the eKnitter board into its correct position. Align the screw holes of the eKnitter board with the screw holes in the lid.
Secure the board
Fasten all screws tightly so the board is secure and stays in the correct position.
Choose your power source
This section applies only to eKnitter KH 910 and eKnitter KH 950.
Watch this video if you want to understand the difference between internal and external power supply.
Watch video: internal / external power supplyWith the eKnitter board, you can choose between internal power and external power by setting the jumper on the board. The jumper is the small black plastic piece on the eKnitter board.
| Jumper position | Power source |
|---|---|
| JP2 | Internal power supply |
| JP1 | External power supply |
Tested and recommended power supply options are listed on our website: www.eknitter.com.
Connect the cables to the eKnitter board
Connect all cables to the eKnitter board:
- S1
- S2
- S3
- S6, if present
- S7
Each connector is clearly labelled on the eKnitter board. This helps you see where each cable must be connected.
Check before turning on the machine
Before switching the machine on, carefully inspect all connections.
- All plugs must be firmly connected.
- No wires or connectors should be loose.
- No loose wire or connector should touch the board.
- The eKnitter board must not touch any metal surface.
Turn on the machine before closing the lid
Before closing the lid with screws, turn on the machine and check that the display lights up.
If the display lights up, continue with the next step.
Check the keyboard
Check that the machine keyboard works correctly.
| Button | Function |
|---|---|
| 1 | Toggle download on / off |
| 2 | Toggle endless repeat on / off |
| M | Moves the menu to the left |
| R | Moves the menu to the right |
Navigate the display menu
Use the green key to move the menu to the left. Use the orange key to move the menu to the right.
You will find three menu options: A, B, and C.
Test each carriage
Test the K, L, and G carriages on both the left and right hall sensors. The machine should recognize each carriage correctly.
If a carriage is not recognized correctly, continue with the section: Set and check the hall sensor.
Set the hall sensor if needed
This step is only necessary if the carriages are not recognized correctly by the eKnitter.
Open the sensor display
Press the green key below the display repeatedly until the sensor screen appears. This screen shows whether the left L hall sensor is calibrated correctly.
Read the display
- If you see a small x on the right side of the display, the sensor is not set correctly.
- If you see a checkmark on the right side of the display, the sensor is set correctly.
Adjust the sensor
To correct the hall sensor, turn the blue screw under the lid on the left side of the machine.
When you turn the blue screw slightly, you can see on the display how the small bar moves left or right. Move the small bar into the center between the two smaller bars.
Right hall sensor settings
The settings for the right hall sensor are not provided here. The values differ for the KH 910 model.
The value shown on the display does not represent the real value in the same way as on the left side. Therefore, the right hall sensor cannot be set in the same way as the left hall sensor.
If the right hall sensor does not recognize the carriage correctly, it should be measured manually with a multimeter.