Set up your eKnitter in 3 steps
Install the eKnitter mainboard, connect it to Wi-Fi, and start using the WebApp.
Install the eKnitter Mainboard
Start with the video for your machine model. Then follow the basic installation path. Extra checks are still here, but only open them if you need them.
Watch the video, remove the old board, install eKnitter, connect cables, and check the display.
Keyboard, menu, carriage recognition, and hall sensor settings are placed below as expandable sections.
If you are not sure whether your machine is ready, or you want help installing eKnitter, check the listed independent service providers.
Find machine repair helpStart with the correct video
Before you open the machine, watch the installation video for your Brother knitting machine model.
Safety first
The eKnitter mainboard must only be installed by qualified electrical professionals. Do not install the board yourself if you do not have the correct electrical qualification.
Read the full safety notice
Opening and working on the machine can be dangerous and can damage the machine or the eKnitter board.
If you open the machine and notice that it has been changed, repaired, modified, or does not match the expected description, stop immediately. Do not continue the installation and do not use the eKnitter.
Follow these steps in order.
Before opening the machine
Power off
Switch the machine off completely and disconnect it from all power sources.
Do not fully open Lid C
Do not fully open the right side of the machine, also called Lid C. Lid C may only be lifted slightly so that Lid B can be removed.
Show Lid A / B / C image

Remove the old mainboard
Open the machine case and remove the left and middle lids, Lid A and Lid B. The original mainboard is located under Lid A.
Carefully unplug each connection. Then unscrew and remove the old mainboard from the lid. The original mainboard consists of two separate boards. Both boards must be removed.
Show photos and extra removal notes
You only need to slightly lift Lid C to remove Lid B. Avoid opening Lid C completely because the power supply is close to this area.

When the old mainboard has been removed, the lid will be empty. The photos show how the lid looks after the old mainboard has been removed from a KH 910 / KH 950(i).

Install the eKnitter board
Before placing the eKnitter board, make sure all button keys are correctly positioned. Also check that the rubber mat is correctly placed on top of the keys.
Place the eKnitter board into its correct position. Align the screw holes of the eKnitter board with the screw holes in the lid. Fasten all screws tightly so the board is secure.
Show button key and rubber mat image

Choose your power source
This section applies only to eKnitter KH 910 and eKnitter KH 950.
KH 910 / KH 950 jumper positions
With the eKnitter board, you can choose between internal power and external power by setting the jumper on the board. The jumper is the small black plastic piece on the eKnitter board.
| Jumper position | Power source |
|---|---|
| JP2 | Internal Brother power supply |
| JP1 | External 12V DC power supply |
External power supply details
An external power supply is useful if you do not want to use the original Brother power supply anymore. It can also help when your knitting machine was made for a different mains voltage than the country you live in.
Connect the cables
Connect all cables to the eKnitter board. Each connector is clearly labelled on the board.
Final check before power on
Before switching the machine on, carefully inspect all connections.
- All plugs must be firmly connected.
- No wires or connectors should be loose.
- No loose wire or connector should touch the board.
- The eKnitter board must not touch any metal surface.
Turn on before closing the lid
Before closing the lid with screws, turn on the machine and check that the display lights up.
Open these checks when the board is installed and the display lights up.
Check the keyboard
Check that the machine keyboard works correctly.
| Button | Function |
|---|---|
| 1 | Toggle download on / off |
| 2 | Toggle endless repeat on / off |
| M | Moves the menu to the left |
| R | Moves the menu to the right |
Navigate the display menu
Use the green key to move the menu to the left. Use the orange key to move the menu to the right.
You will find three menu options: A, B, and C.
Test each carriage
Test the K, L, and G carriages on both the left and right hall sensors. The machine should recognize each carriage correctly.
If a carriage is not recognized correctly, continue with the section: Set the hall sensor if needed.
These sections are for troubleshooting or expert adjustment.
Old machine capacitor note
If your knitting machine is old and has not been used for a long time, the capacitor inside the machine may fail when you turn the machine on, or shortly after turning it on.
Typical signs are a sound and a smell. This is a known issue with old electronic machines.
If this capacitor problem happens, you should consider using an external power supply. Another option is to ask an electronic expert to replace the capacitor.
General handling warnings
Please follow these handling rules during the complete installation.
- Handle the eKnitter mainboard carefully. Avoid touching electronic components and circuits directly.
- Avoid static damage. Static electricity can damage electronic parts.
- Use the correct tools. Use suitable tools when removing the old mainboard and installing the new one.
- Keep the installation area clean and dry. Dust, dirt, and moisture can damage electronic components.
- Work with good lighting. You must be able to clearly see all cables, plugs, and components.
- Connect cables correctly. Wrong cable connections can cause malfunction or damage.
- Keep the board clean. The mainboard and the surrounding area should stay clean and dust-free.
Set the hall sensor if needed
This step is only necessary if the carriages are not recognized correctly by the eKnitter.
Important difference between machine models
KH 930 / KH 940
On the KH 930 and KH 940, both the left and right hall sensors can be checked and adjusted using the values shown on the eKnitter display. The video shows step by step how to adjust both sensors using the blue adjustment screws.
KH 910
On the KH 910, only the left hall sensor can be checked and adjusted using the eKnitter display.
If the right hall sensor does not recognize the carriage reliably, it must be measured and adjusted manually with a multimeter.
Open the sensor display
Press the green key below the display repeatedly until the sensor screen appears. On the KH 930 and KH 940, use the corresponding screen for the left or right hall sensor. On the KH 910, use the display only for the left hall sensor.
Read the display
- If you see a small x on the right side of the display, the sensor is not set correctly.
- If you see a checkmark on the right side of the display, the sensor is set correctly.
Adjust the sensor
To correct the hall sensor, carefully turn the corresponding blue adjustment screw under the lid.
When you turn the blue screw slightly, you can see on the display how the small bar moves left or right. Move the small bar into the center between the two smaller bars.
Connect your eKnitter to Wi-Fi
Follow these steps to connect your eKnitter to your home Wi-Fi network. You only need a phone, tablet, or computer.
Connect to your eKnitter
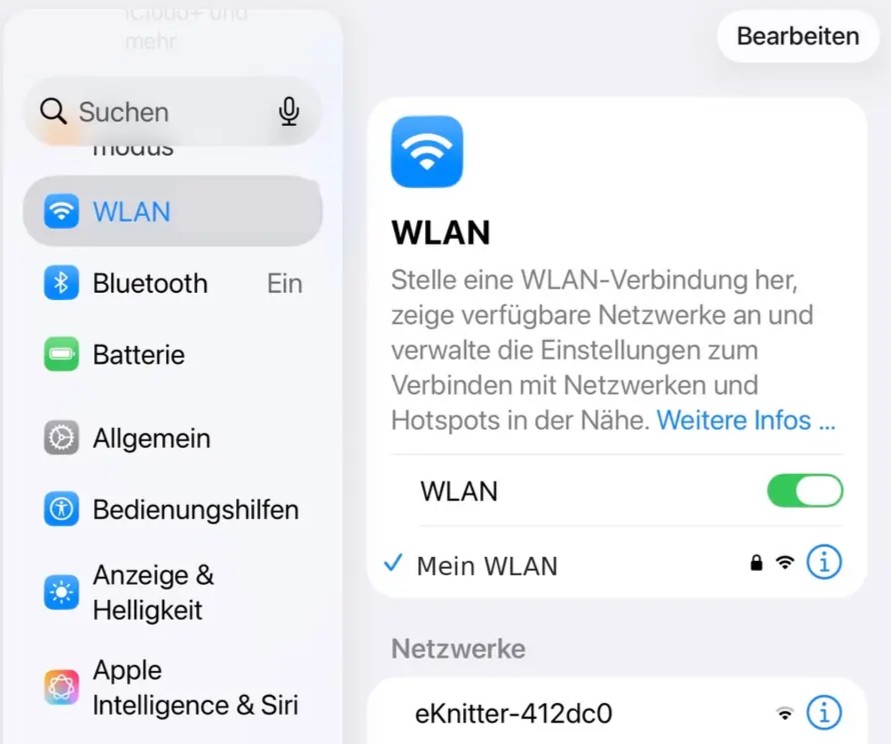
Open the Wi-Fi list on your phone, tablet, or computer.
Connect to the Wi-Fi network that starts with: eKnitter-…
Each eKnitter has its own name. You can find this name on the sticker on the eKnitter board.
Open the setup page
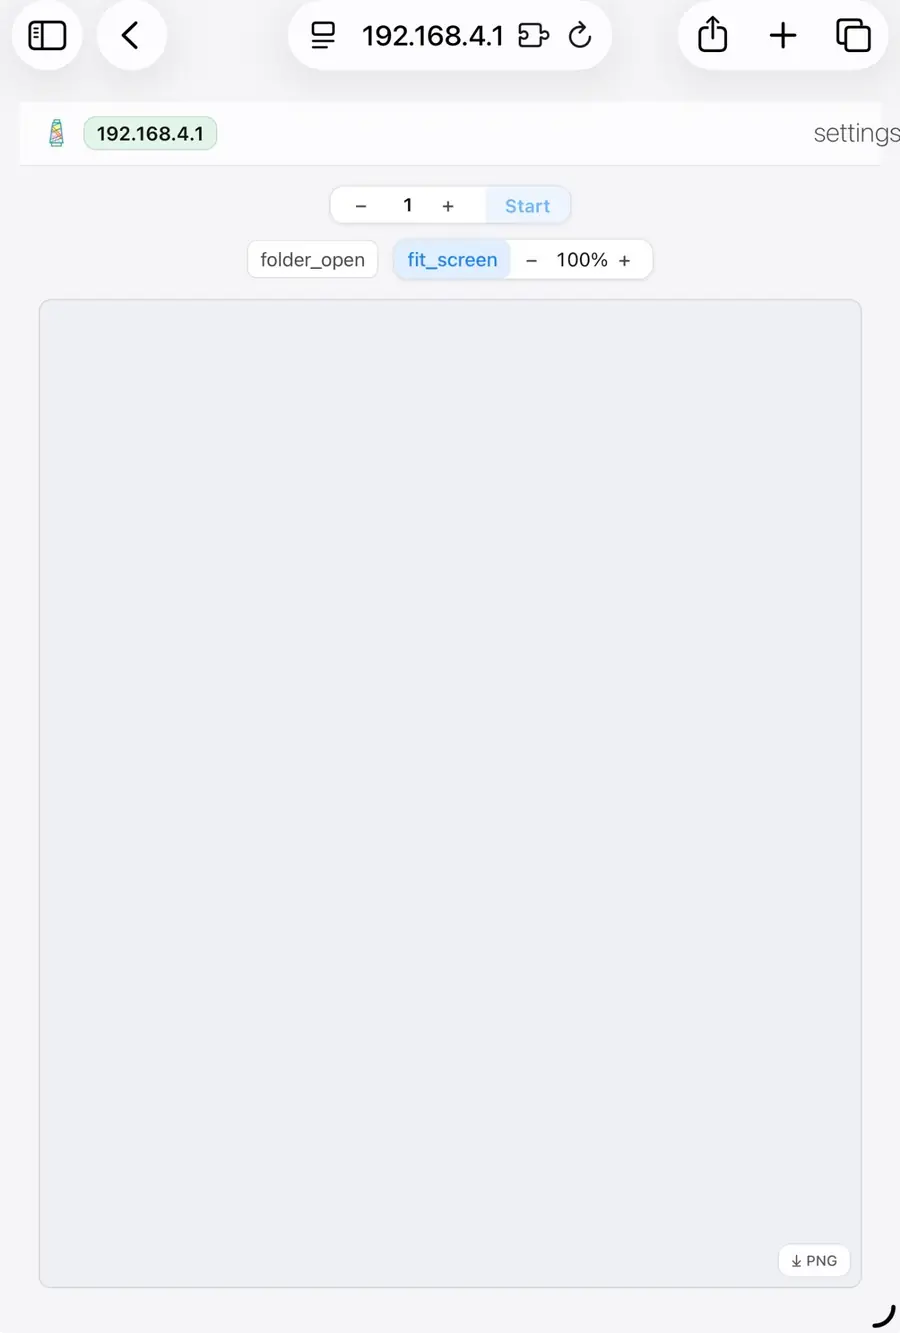
After connecting to the eKnitter Wi-Fi, the setup page may open automatically.
If it does not open automatically, open your browser and type: 192.168.4.1/
Apple devices: captive.apple.com
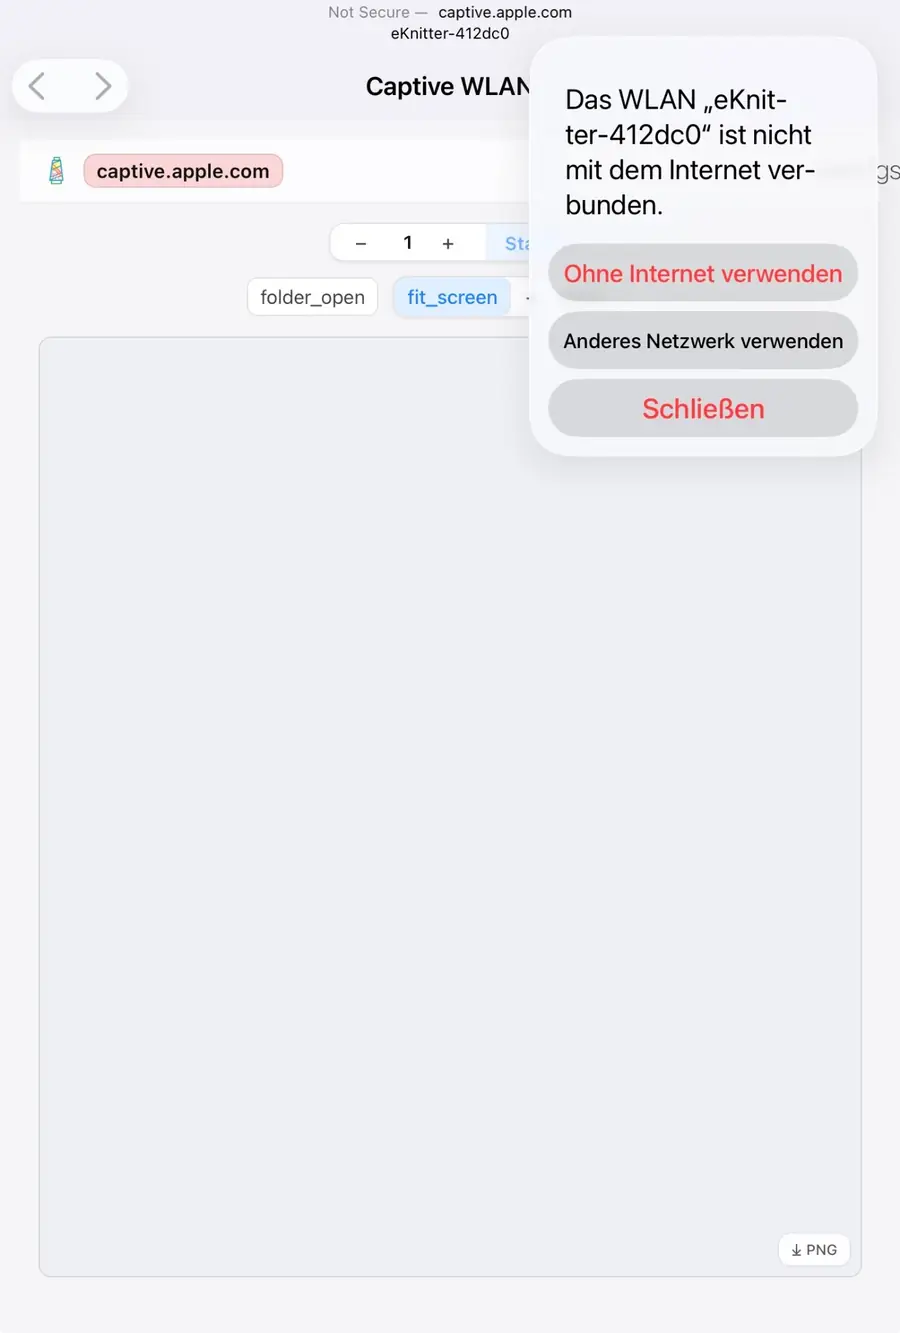
On iPhone or iPad, Apple may open a page called: captive.apple.com
It may appear in red.
This only means that the eKnitter Wi-Fi is not connected to the internet. That is normal during setup.
Check that you are on 192.168.4.1/
When you are on: 192.168.4.1
and the address badge is green, you are connected to the eKnitter setup page.
Go to Settings
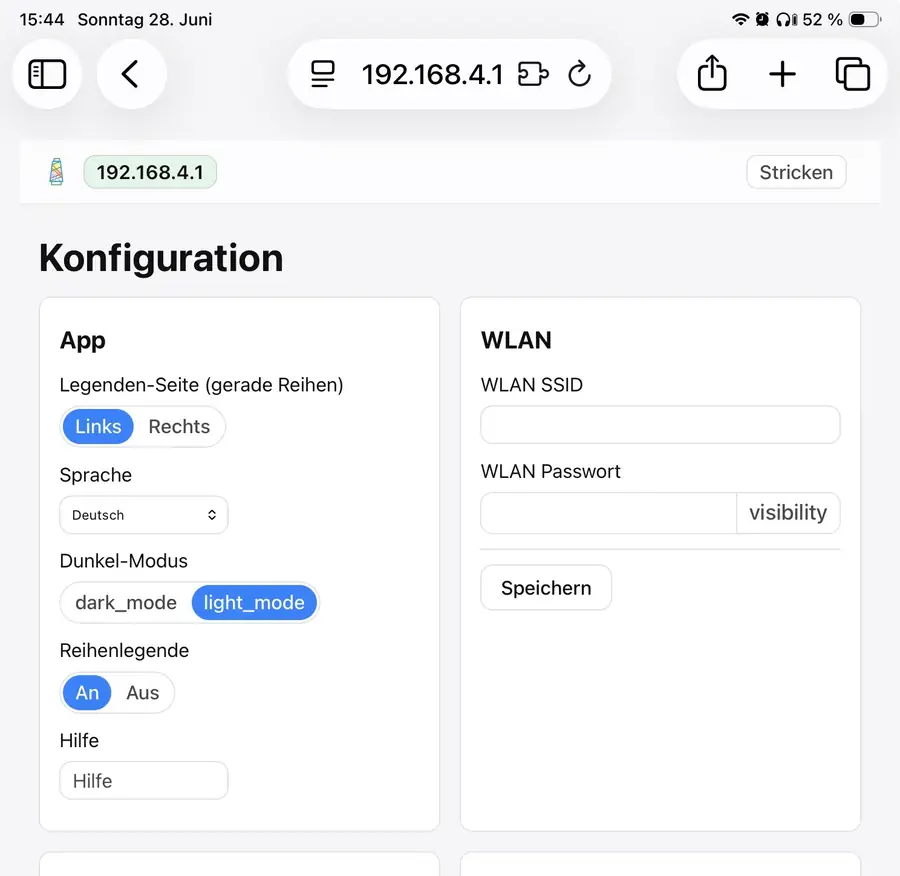
On the eKnitter page, open: Settings
Enter your home Wi-Fi name in the field: WLAN SSID
Then enter your Wi-Fi password in the field: WLAN Password
Save your Wi-Fi credentials
Tap: Save
The eKnitter will now try to connect to your home Wi-Fi.
If the Wi-Fi name and password are correct, the eKnitter should show a blue light. You should also see a Wi-Fi symbol on the eKnitter display.
Open the eKnitter WebApp
After the eKnitter is connected to your home Wi-Fi, reconnect your phone, tablet, or computer to your normal home Wi-Fi network.
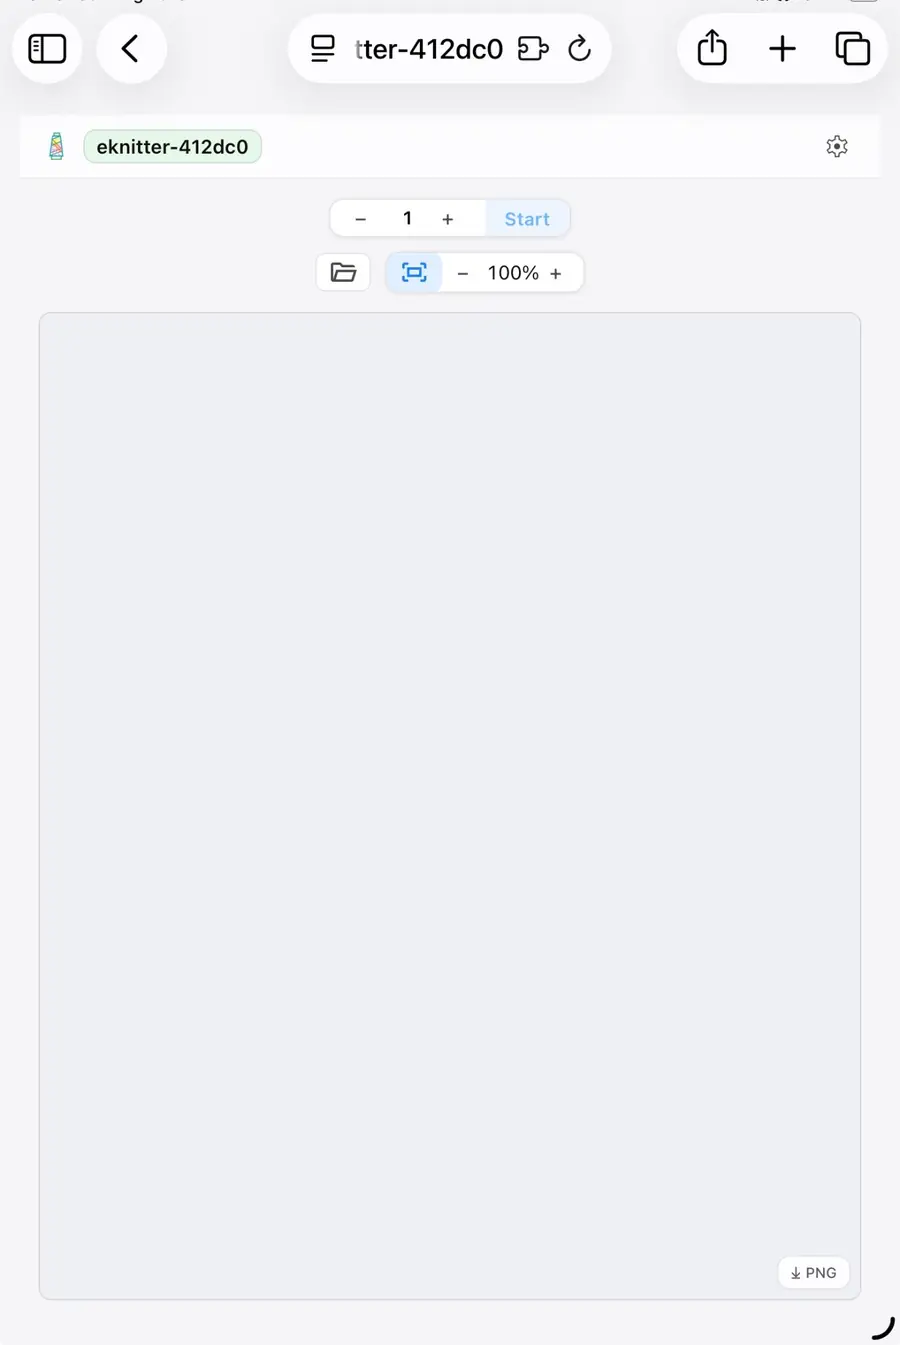
You can now open the eKnitter WebApp by typing your eKnitter name or IP address into your browser.
or the IP address shown on your eKnitter display.
If the Wi-Fi details were wrong
If the Wi-Fi name or password was entered incorrectly, the eKnitter cannot connect to your home Wi-Fi.
In this case, reset your eKnitter to delete the saved Wi-Fi details.
Reset Wi-Fi using the controller board
Use this only if the buttons and the WebApp no longer respond.
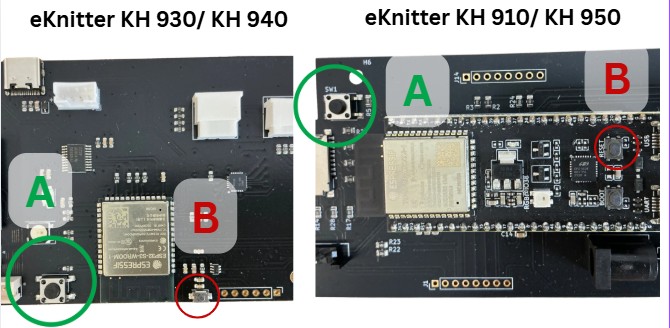
The controller board has two reset buttons: A and B. The position is different depending on your machine model.
How to reset
- Press and hold A.
- While still holding A, press B once.
- Keep holding A for about 6 seconds.
- Release A.
Access your eKnitter WebApp & Send Pattern
The new eKnitter WebApp is available for all eKnitters running Release version 5.27 or higher. First check your eKnitter version. If your version is older, update your eKnitter before continuing.
Check your eKnitter version
Turn on your eKnitter and check the display. It must show Version 5.27 or higher.
Open the WebApp
Open a web browser on your phone, tablet, or computer and enter your personal eKnitter address:
Example using the eKnitter name
Example using the IP address
Each eKnitter has its own unique name and address.
Find your eKnitter name
You can find your personal eKnitter name in two places:
On the display
Press the green button until the eKnitter name and IP address appear.
On the sticker on your device
Example: eKnitter-XXXXXX
Important
Your eKnitter must be powered on.
It must be connected to Wi-Fi.
The Wi-Fi symbol must be visible on the display.
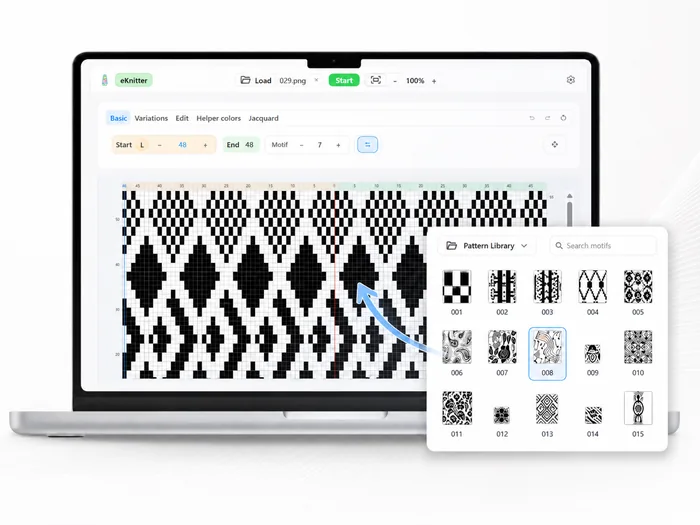
Pattern files are ready.
Start with available pattern files and begin knitting with digital designs.
Modern Power Supply.
Helpful if the original adapter is missing, old, or made for another country.
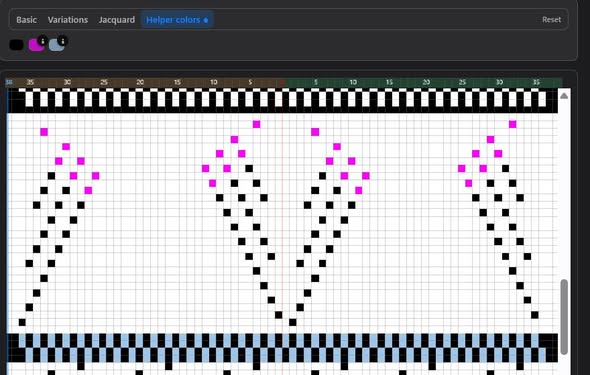
Mute any colour.
Use colours for planning, testing and simplifying complex designs.
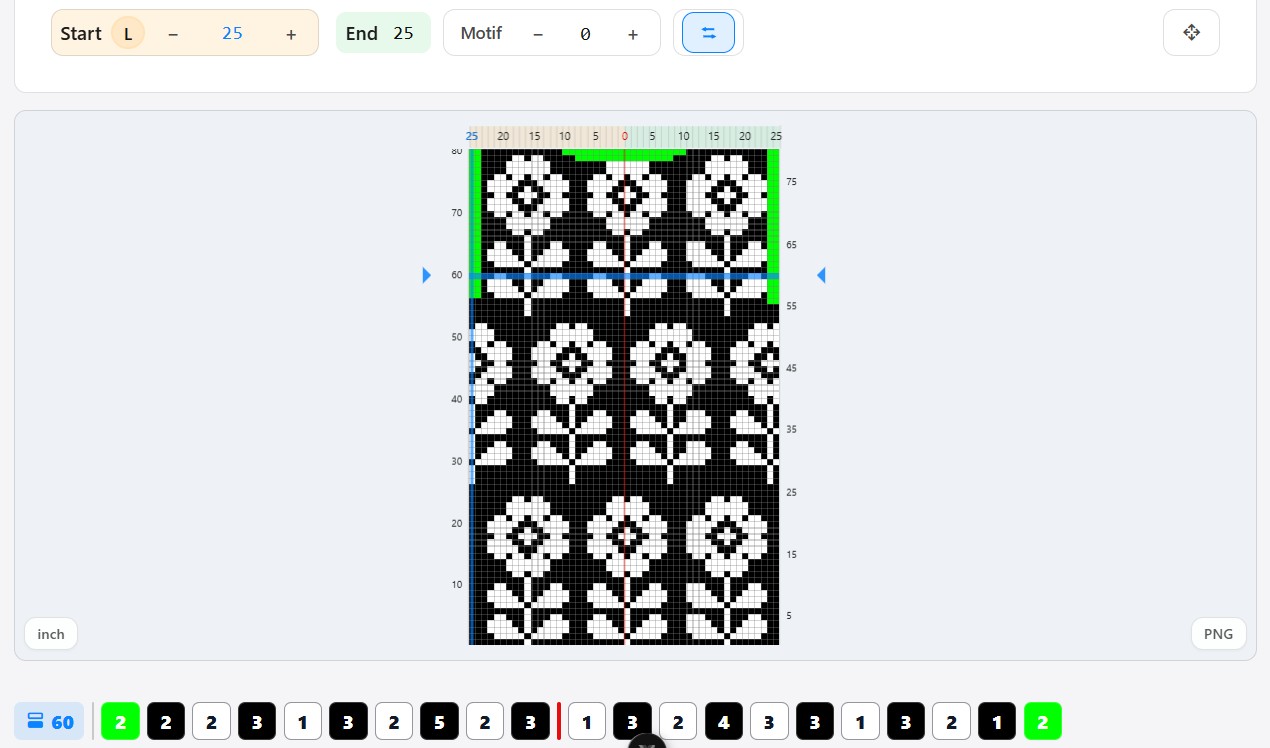
Colour Count row legend.
See how many stitches of each colour appear in a row before you knit it.
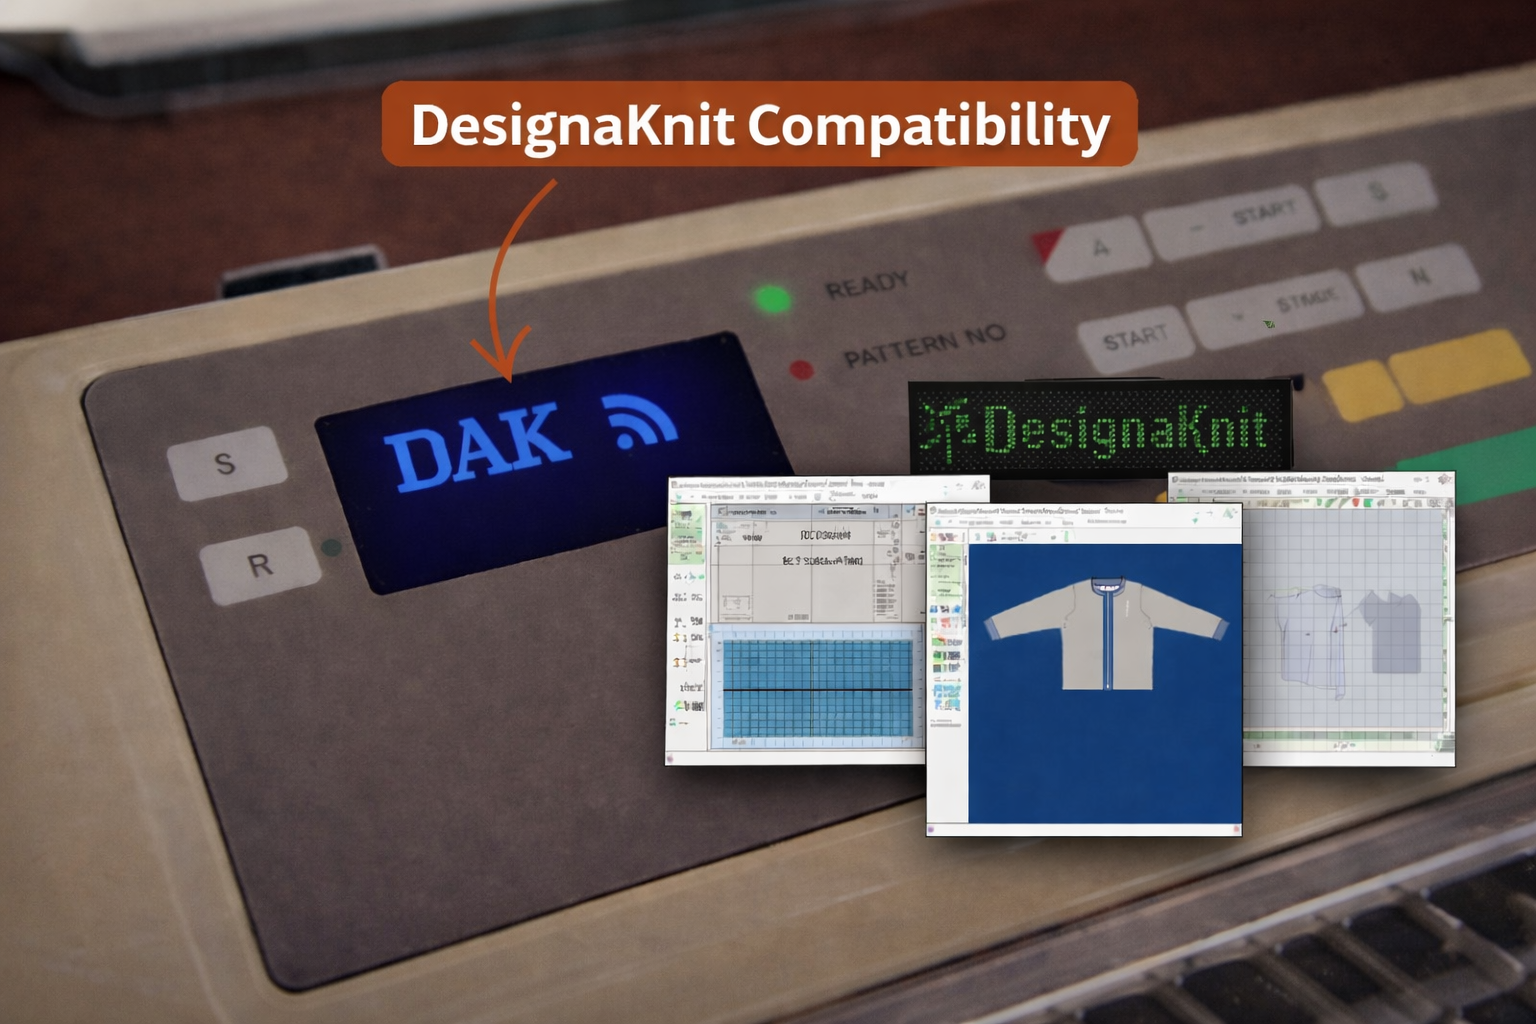
Connect with DAK.
Already using DesignaKnit? eKnitter is ready for a modern workflow.
Super Short Rows.
Create shaped details and modern knitwear effects without fighting the old workflow.
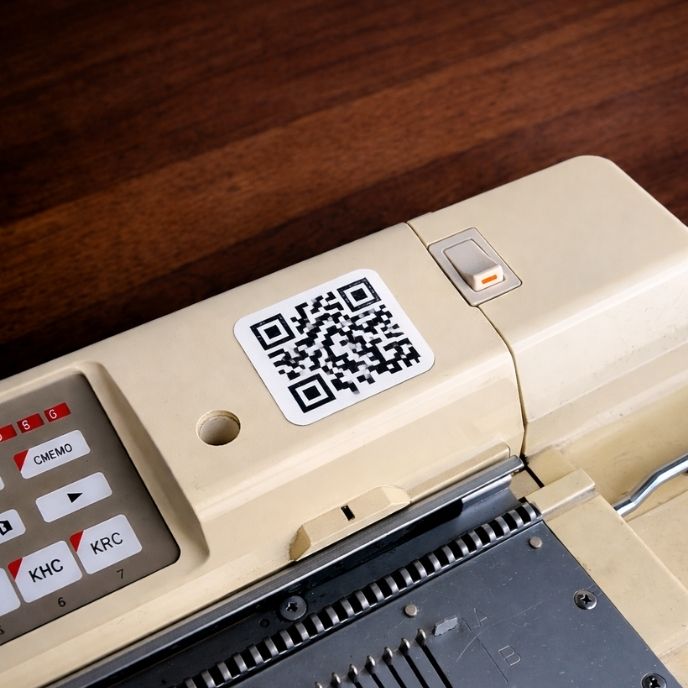
Scan. Open. Knit.
Your personal QR code opens your eKnitter setup quickly.
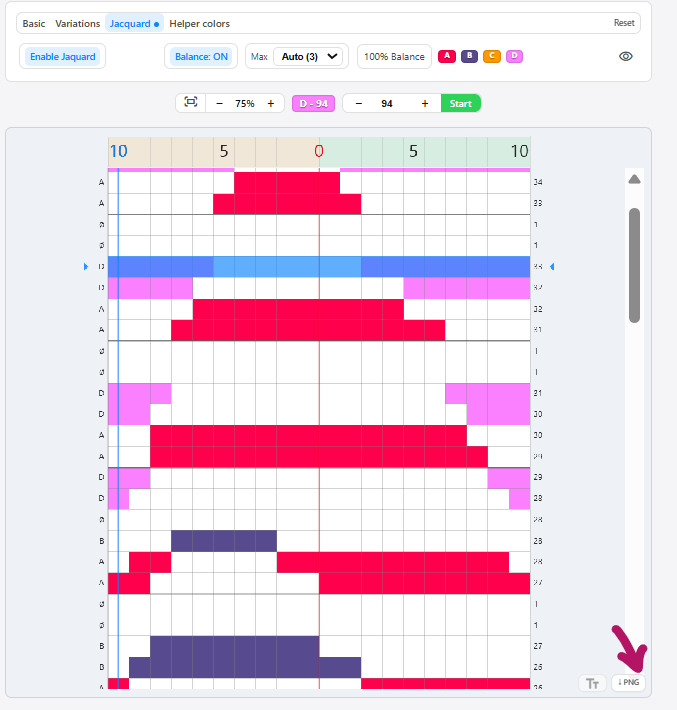
Multi-colour Jacquard.
More colour tools for complex multi-colour designs and better control.
Check your machine.
Check which Brother machines are compatible and what you need before choosing eKnitter.